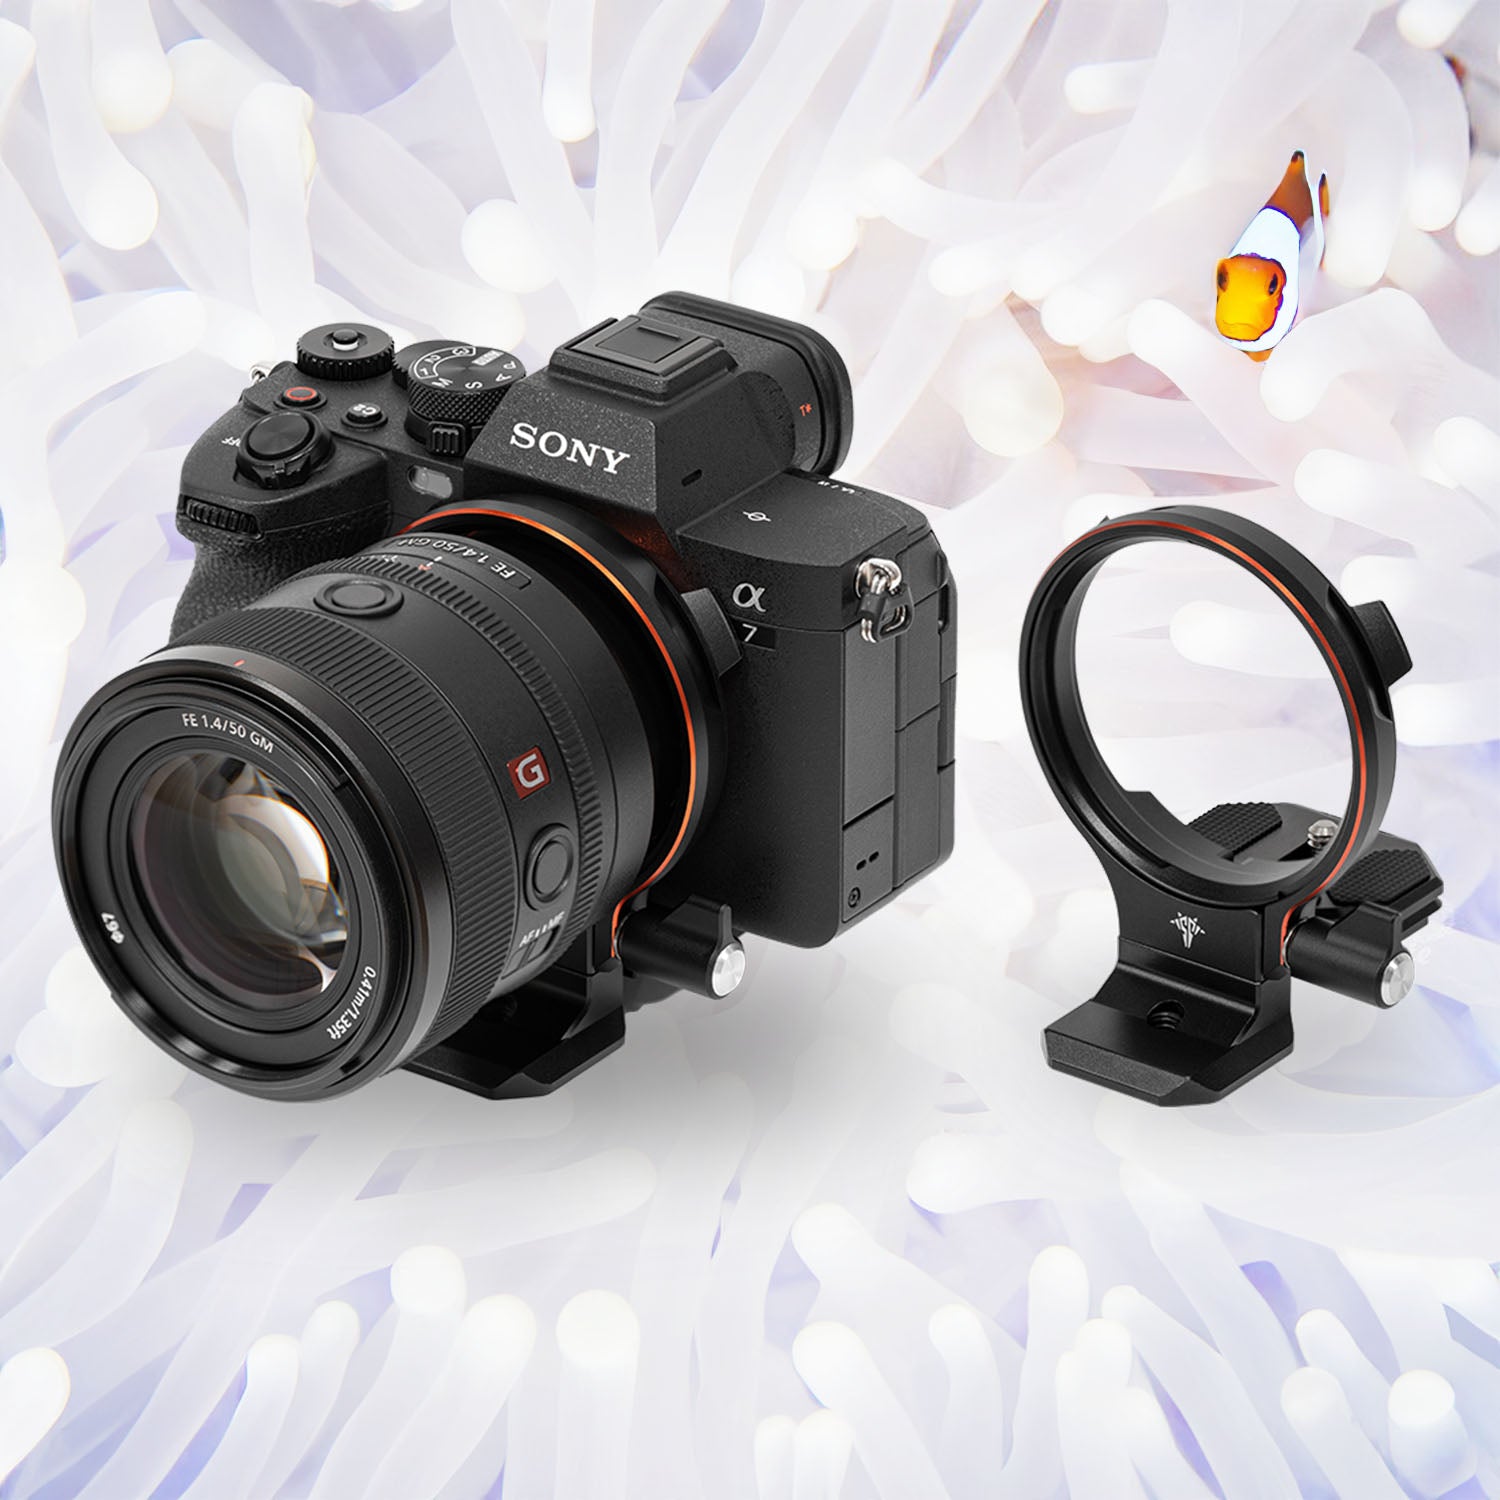
ATOLL installation guide
ATOLL S / C / D installation guide
If your camera needs to use a "Heightening Plate", please install it first.
Otherwise, please jump to "install the ATOLL onto your camera" part.
Install the "Heightening Plate"
| 1 |  |
Use 4mm screwdriver to install the plate and replace the screw. |
Install the ATOLL onto your camera
| 1 |  |
Take off the lens from your camera. |
| 2 |  |
Put on the ATOLL and use 4mm screwdriver to fasten the screw. |
| 3 |  |
Rotate ATOLL to side. |
| 4 |  |
Adjust ATOLL to center by loose 3 screws. |
More calibration
For more Sony camera's calibrate details and tips, please watch this video.
Nikon Z series
- Since Nikon Z series cameras are not high enough, if you install ATOLL C on Z series, it may not be completely aligned with the center of the lens, (However, most Z series lenses can be installed)
- There are two ways to align ATOLL C to the lens center of Nikon Z series cameras
-
Add-ons a Heightening Plate

-
you can try to disassemble the ATOLL, as shown in this video (there is grease inside, please pay attention) https://youtu.be/mktHdhu2xss You can see difference between before / after disassemble the ATOLL. Screws now can goes deeper under the ring. After disassembled, ATOLL can align with the center of lenses, but it can't use with PD capture V3, but can work perfectly with Manta Mount.

Another suggestion
Installing ATOLL C on the Z series may cover the function keys.
If you usually use the function keys
we recommend that you choose an extended quick-release plate (or choose ATOLL D),
which can make ATOLL farther away from the camera and increase finger space to access function key.

NOTE 1
If you choose ATOLL D, please be sure to add a Heightening Plate to align ATOLL with the center of the camera, because ATOLL D will be far away from the camera. If it is not aligned with the center of the lens, it will interfere with the lens, resulting in failure to install
NOTE 2
The body of ATOLL C and ATOLL D are the same. The difference is the length of the quick release plate.
You can replace the quick release plate on the ATOLL C with an Extended quick release plate, it will become ATOLL D
🌞🌞best recommended combination is🌞🌞
ATOLL C+Heightening Plate+Extended Quick release plate
This allows you to flexibly switch between ATOLL C and ATOLL D
BTW
If you don't care so much about aligning the center of the lens,
and accessing the function buttons, ATOLL C is the right choice
Olympus EM1 and OM1

Above the picture is
EM1 with ATOLL C+Heightening Plate.
Some users feel that ATOLL is too large for EM1/OM1.
The finger space between the ATOLL and the grip is too small to hold the camera. So we have removed EM1 and OM1 from the available compatibility list
Below the picture is
EM1 with ATOLL D+Heightening Plate.
The quick release plate of ATOLL D is relatively long. The user can move the ATOLL outward, and the finger space becomes much larger
But because this method may not be suitable for everyone
So we didn't list EM1/OM1 on the compatible list.
If you think this is OK, you can go to the official website to choose ATOLL D+Heightening Plate
Sony cameras with MC11 adapt ring
ATOLL X installation guide
This part explained how to install the ATOLL X onto you camera, and even with battery grip and L-Bracket.
Install the ATOLL onto your camera
| 1 |  |
Rotate ATOLL to side. |
| 2 |  |
Take the plate and fasten it with a 3mm hex wrench. |
| 3 |  |
Put on the ATOLL and use 4mm screwdriver to fasten the screw. |
| 4 |  |
Loosen the screw with a 3mm hex wrench to adjust the center position of ATOLL, then tighten the screw. |
Combinations for the Two-Way Plate and Bridge Plate
By combining the two-way plate and the bridge plate, ATOLL can be mounted with a camera that has an L-bracket, camera cage and battery grip.
| Combinations | Battery Grip / L-Bracket | Description |
 |
- |
Two-Way Plate With only Two-Way Plate, it can be adjust for a wide range of camera position. |
 |
 L-Bracket |
 Two-Way Plate+Bridge Plate For installing the L-bracket, you may need both Two-Way Plate and Bridge Plate. |
 |
 |
 Two-Way Plate Except ATOLL X, ATOLL S / C / D can also use L-Bracket with Two-Way Plate. |
 |
 |
 Two-Way Plate+Bridge Plate For installing the battery grip, you may need both Two-Way Plate and Bridge Plate. |
Please feel free to contact us for informations with :
- 📮 contact@silencecorner.net
- F https://www.facebook.com/Silence.Corner.inc/
- O https://www.instagram.com/silencecorner.inc/


